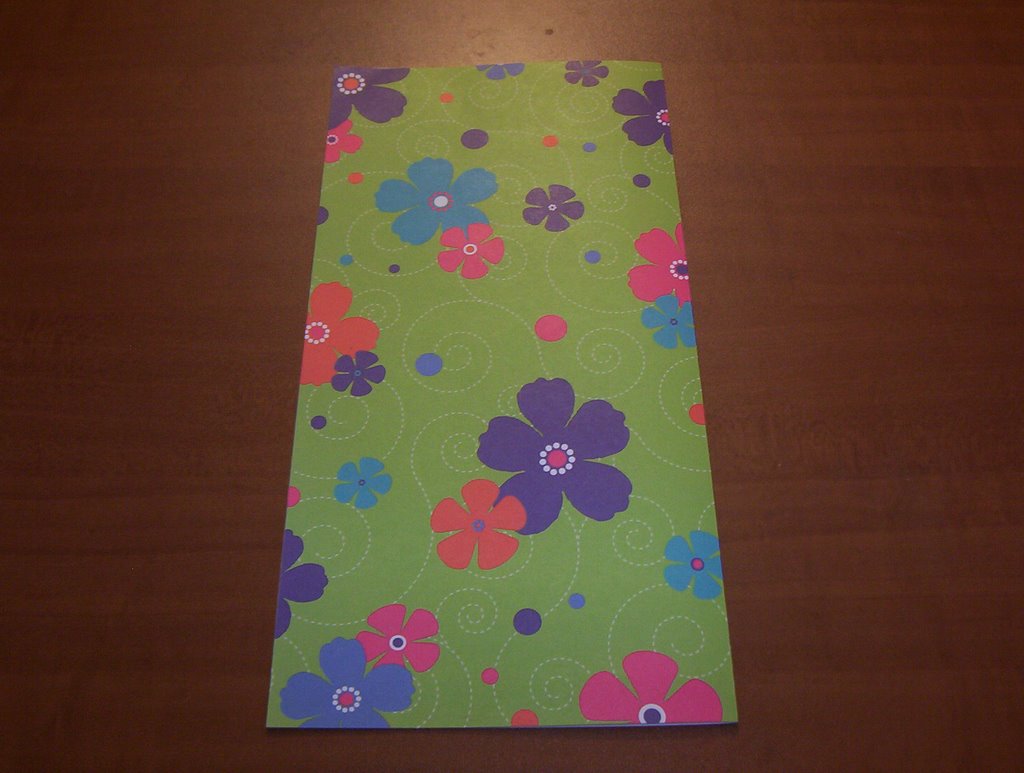
First, start with a sheet of 12x12 paper (Stampin' Up!'s 12x12 double sided paper is fabulous for this.
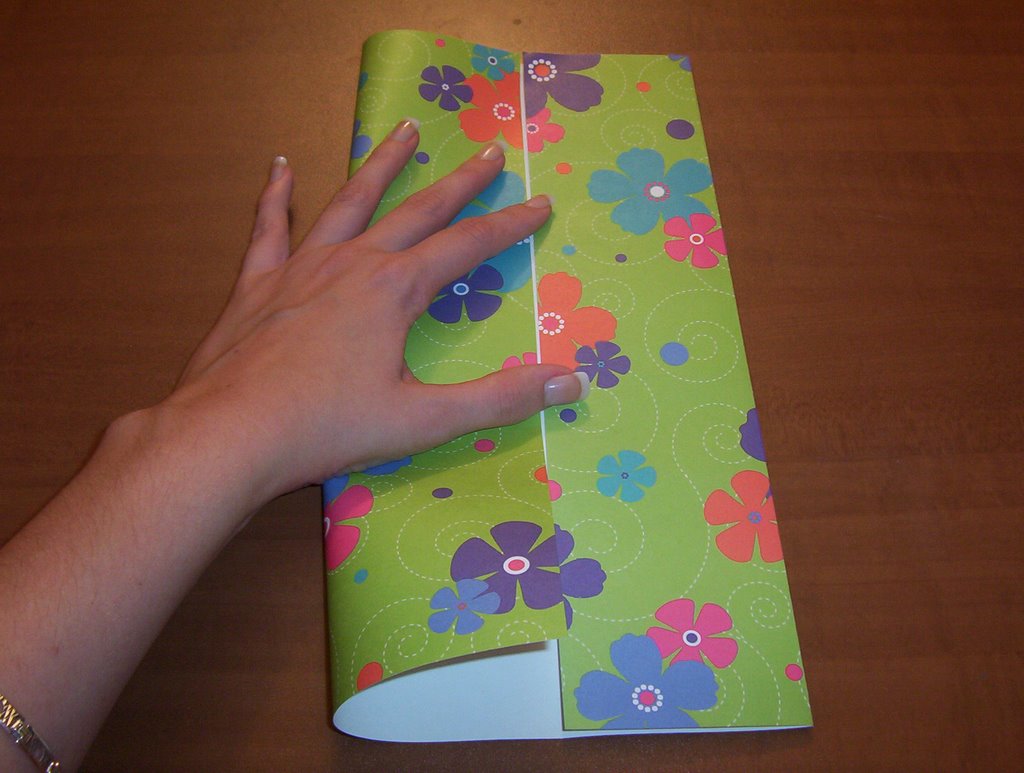
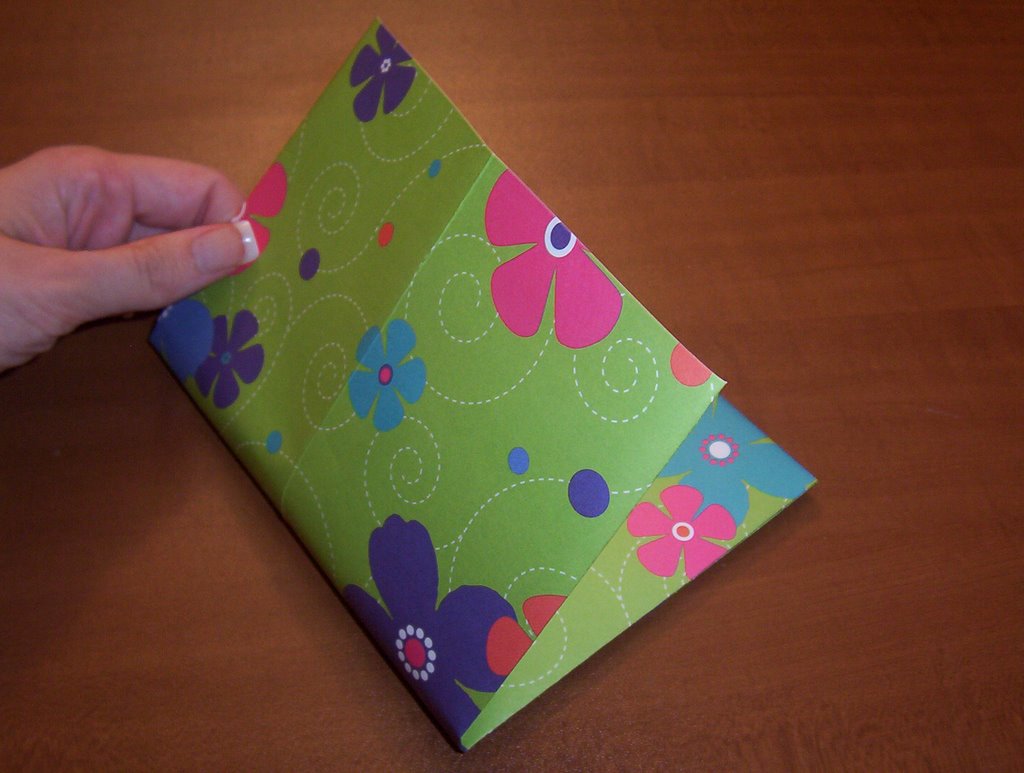
Fold the sheet in half and crease with your bone folder. The pattern that is on the outside of this fold will be the pattern on the outisde of your gift card holder.
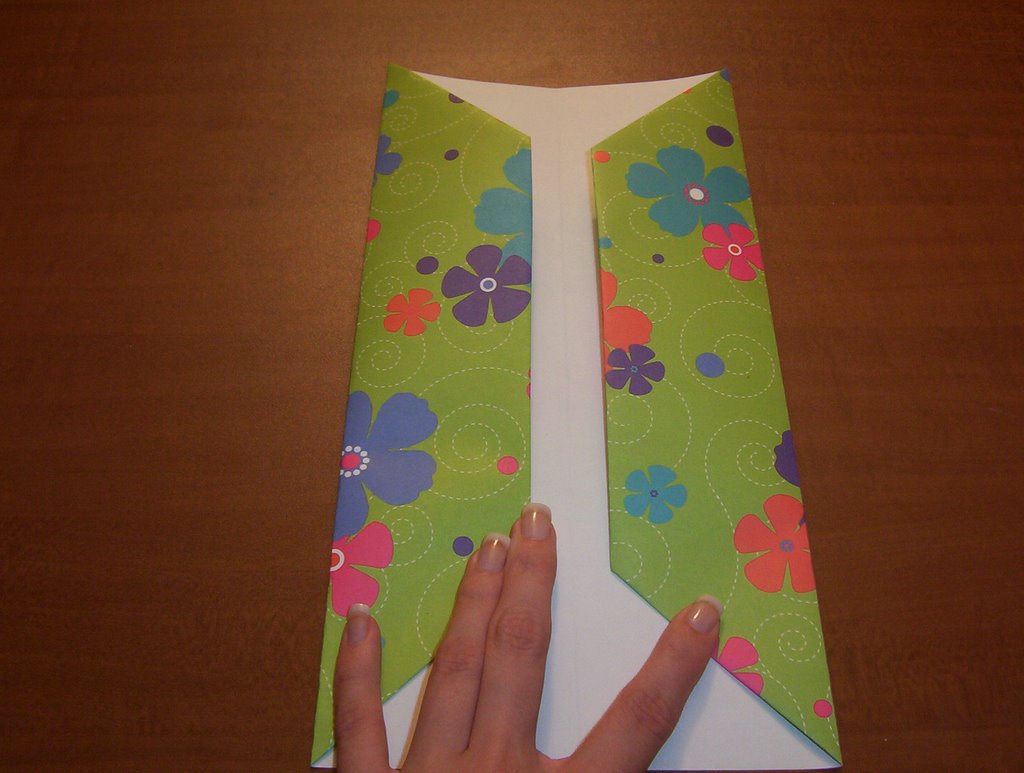
Next, open the paper back up and fold the edges in to meet the middle, crease with your bone folder.
Open these back up and you will have three creases in your paper.

See the creases? I know, the pic makes it a bit difficult. Take the edges and fold in about 1/4"....this does not have to be perfect! Crease with a bone folder.
Then fold the corners in to meet the first set of creases and crease. (I hope this is making sense!)
Next, leaving the corners folded in, fold the sides in to meet the middle again. Easy peasy!

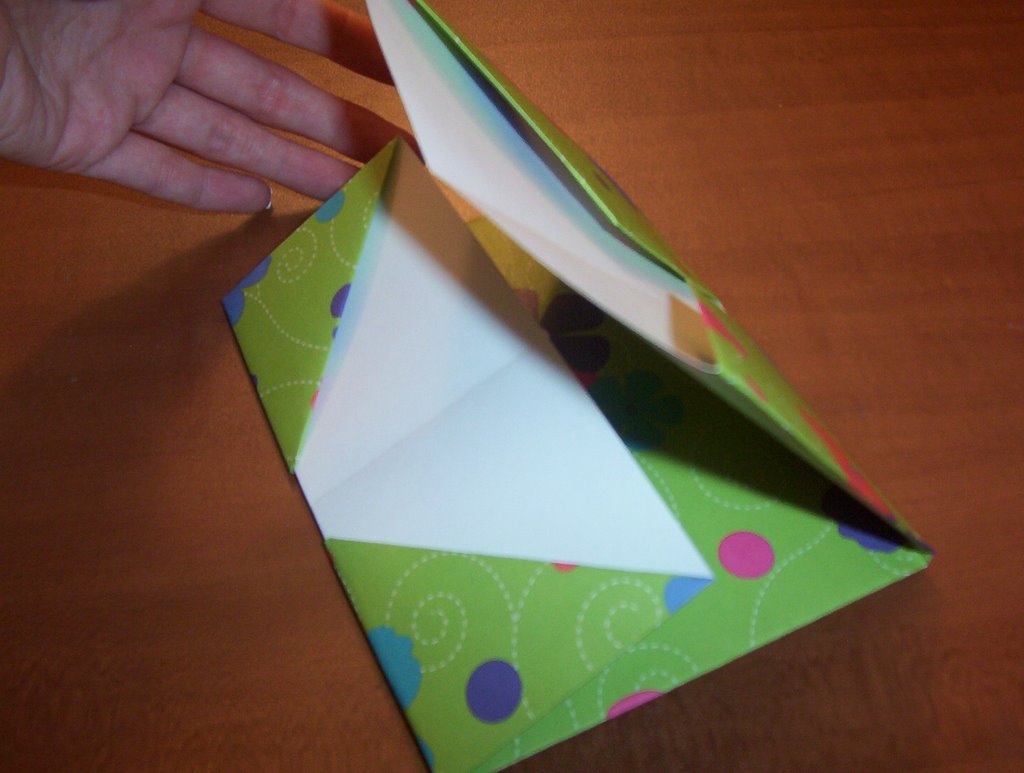
Flip the paper over (keeping it all folded), and fold one end down to the end of where the corners are folded in. Yes...I hope the picture helps you, I am so not good at explaining this!
Flip over again (Keeping everything folded) and fold the other end to meet the folded end neatly.
Fold the paper back over and flip the larger part over to meet the smaller. Crease them well!
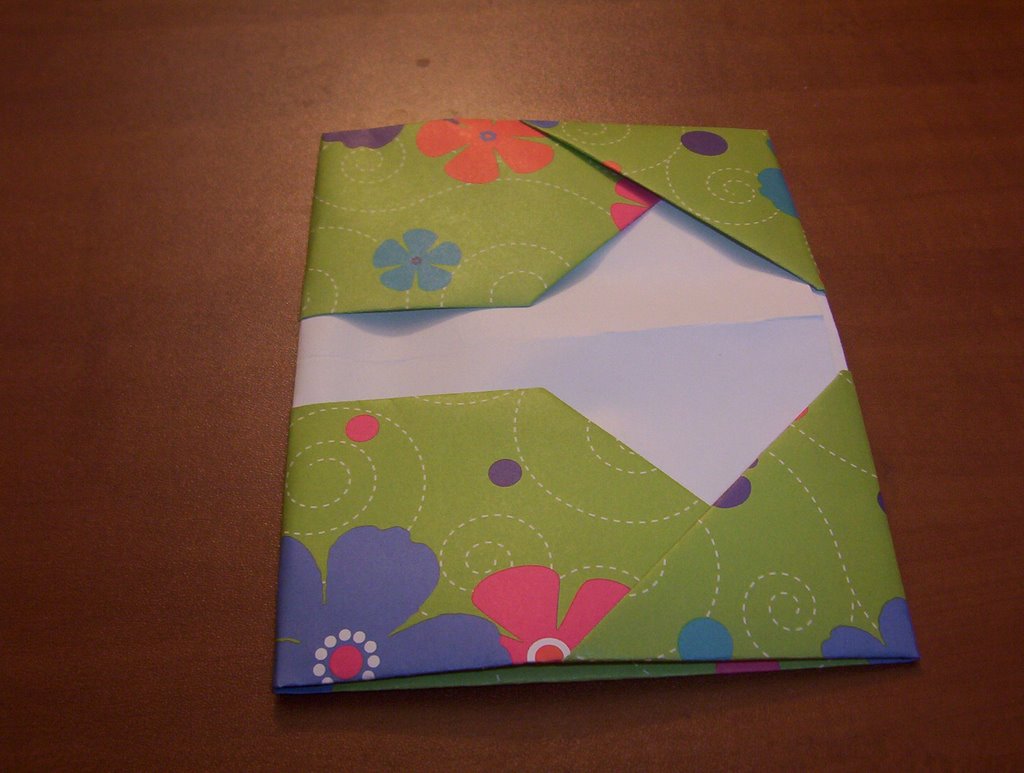
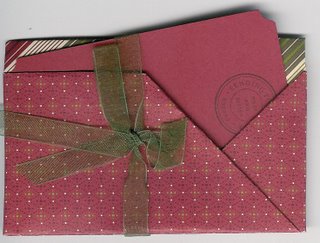
Alright, tuck the big end into the little end and....voila! Almost done! You're almost there, don't give up now!
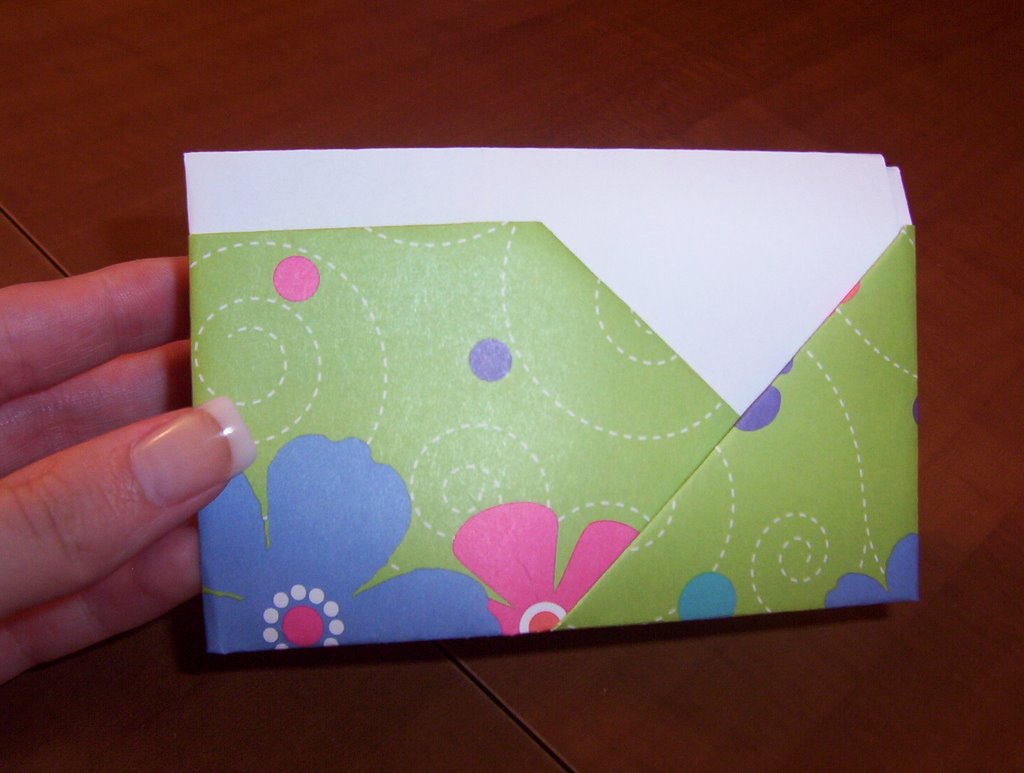
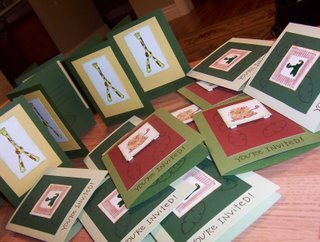
Fold the card in half and you're done! There are 4 spots to put a gift card or small sentiment cards....or whatever you want. I use a small bit of ribbon to tie mine closed!